Have you seen the message: “Waste Ink Pad Full” on your Epson printer—and now it won’t print? This standard error can feel like a death sentence for your machine, but don’t panic. You can fix this at home with a bit of time, patience, and the proper instructions.
In this guide, we’ll walk you through how to check, clean, replace, and reset the waste ink pad on your Epson printer. Whether you’re looking to extend the life of your printer, reduce e-waste, or avoid expensive service calls, this article is for you.
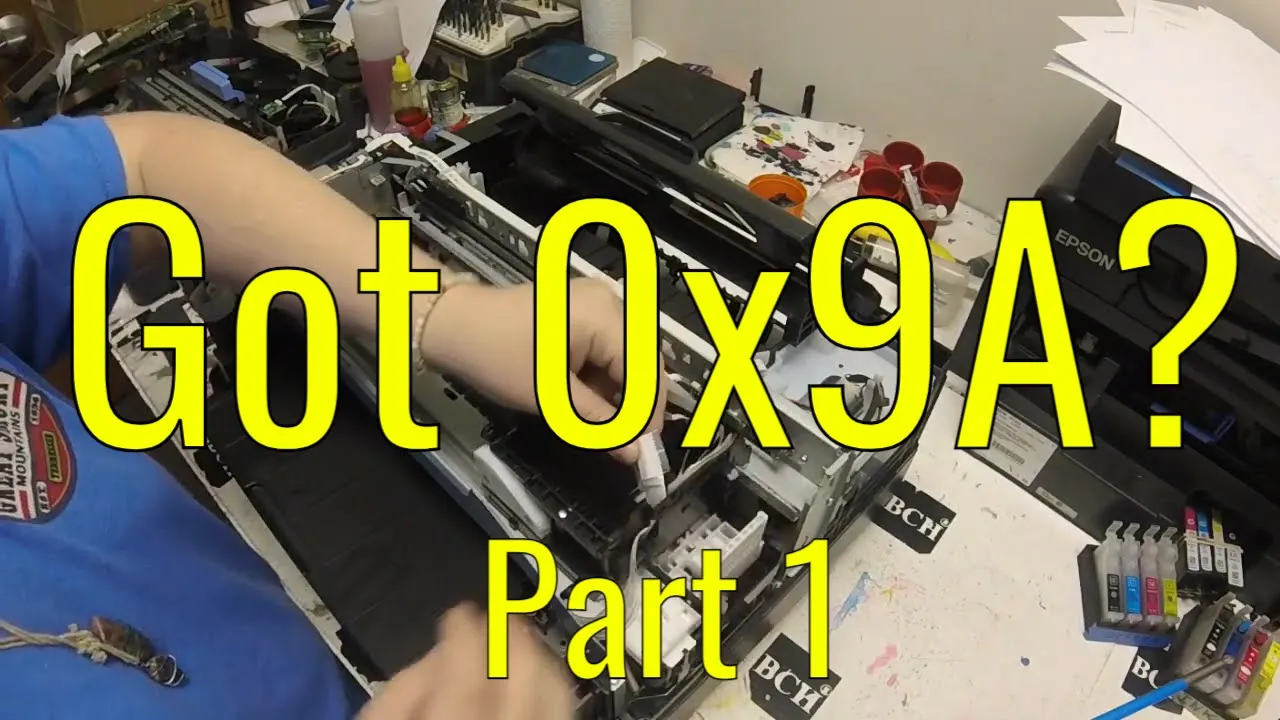
Prefer video instructions?
Watch our step-by-step tutorial here:
What Is a Waste Ink Pad?
Every Epson printer has a waste ink pad inside. It’s a sponge-like material designed to absorb the excess ink used during printhead cleaning and regular operation. Over time, the pad fills up, especially if you’ve had the printer for a while or done frequent cleaning cycles.
When the pad reaches its estimated capacity, your printer will display a message like:
“Service required. Waste ink pad in the printer is at the end of its service life.”
To resume printing, you’ll need to either replace the pad, reset the internal counter, or do both.
Before You Begin
Important: Replacing the waste ink pad may void your printer’s warranty. If your printer is still under warranty, consider contacting Epson customer support before attempting a DIY fix.
This task can also be messy. Wear gloves and protect your workspace with newspaper or disposable towels.
Step 1: Locate the Waste Ink Pad
Your first step is to find the pad inside your printer. Its location varies depending on the model, but it’s typically found near the base or underneath the carriage assembly.
Check your printer manual or search online: “waste ink pad location for [your model number]”
Look for a white or gray sponge tucked into a plastic tray or casing
If you can’t find it, refer to the YouTube video above for visual guidance.
Step 2: Clean Around the Waste Pad Area
Before removal:
Turn off and unplug your printer
Open the necessary panels
Use a damp cloth or paper towel to wipe up any ink residue
Wear gloves to protect your hands from staining
Cleaning ensures your new pad stays uncontaminated and reduces the risk of ink spillage during replacement.
Step 3: Replace the Waste Ink Pad
This part may require partial disassembly of your printer:
Carefully remove the old ink pad (you may need tweezers or a flathead screwdriver)
Place the saturated pad in a disposable bag
Wipe down the surrounding area again to remove leftover ink
Insert a new, compatible waste ink pad
Reassemble the printer
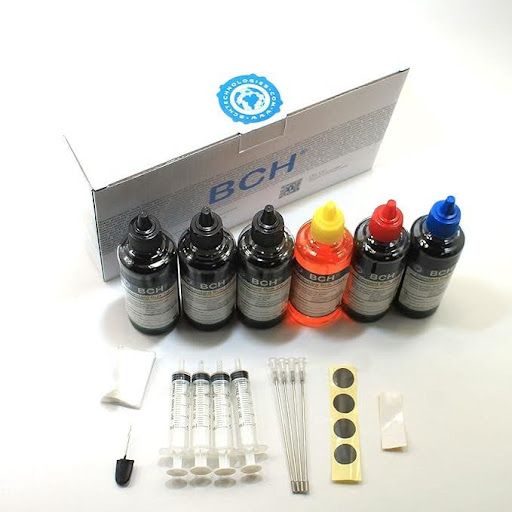
💡 Tip: BCH Technologies and other reputable vendors offer replacement ink pad kits compatible with most Epson models.
Step 4: Reset the Waste Ink Counter
Even with a new pad installed, your printer won’t function until you reset the internal waste ink counter. Here’s how:
Option 1: Use a Reset Utility Tool
Download an Epson service utility or reset tool (be cautious—some tools are unofficial and may contain malware)
Launch the utility and follow the on-screen instructions
Reset the “Waste Ink Pad Counter” or “Protection Counter.”
Option 2: Enter Service Mode
Some models allow access to Service Mode through a button combination
Once in service mode, navigate to the counter reset option
Restart the printer after the reset
Search online using your exact printer model for detailed instructions (e.g., “Epson ET-2750 waste ink reset utility”).
Your Printer Should Now Be Ready
After completing these steps, your Epson printer should be back to normal, and without that annoying error message.
Get More Printer Repair Tips
Subscribe to our free newsletter for weekly fixes, troubleshooting guides, and exclusive discounts on printer accessories and services.
Watch the Full Tutorial
If you want to see the whole process before starting, check out our step-by-step YouTube guide below:
Kevin walks you through the entire replacement and reset process with clear visuals.
How to Prevent This Error in the Future
Empty the waste pad before it reaches full saturation if you do frequent cleaning cycles
Use external waste ink tanks (available for many Epson models)
Clean your printer regularly to avoid excessive internal ink buildup
Reset the counter periodically if you’re using a maintenance tank
Repair, Reuse, Recycle
At Reduce Refill Recycle, we empower printer owners to extend the life of their equipment through smart maintenance, repairs, and eco-conscious upgrades.
By fixing your printer instead of replacing it, you’re helping keep toxic e-waste out of landfills and saving money in the process. Thank you for doing your part.
Stay Connected
Join our newsletter for more printer repair tips, DIY guides, and product recommendations.
Subscribe to BCH Technologies on YouTube for weekly fix-it videos
Need help? Contact us or visit BCH Technologies for replacement parts and expert service
Keep printing—and keep your printer out of the landfill.
—The Reduce Refill Recycle Team